The absolutely best way of making a starter if you don’t already have one is to not make one at all. If you can, ask someone who already has one for a bit of theirs. Most people will be happy to donate a bit, and this is a far shorter way of starting. There’s nothing heroic about creating your own, it’s mostly just a pain in the butt. If you’ve not got one though, here’s how make your own.
Already made your starter and want to make bread? Head over to the bread recipe!
Things you will need
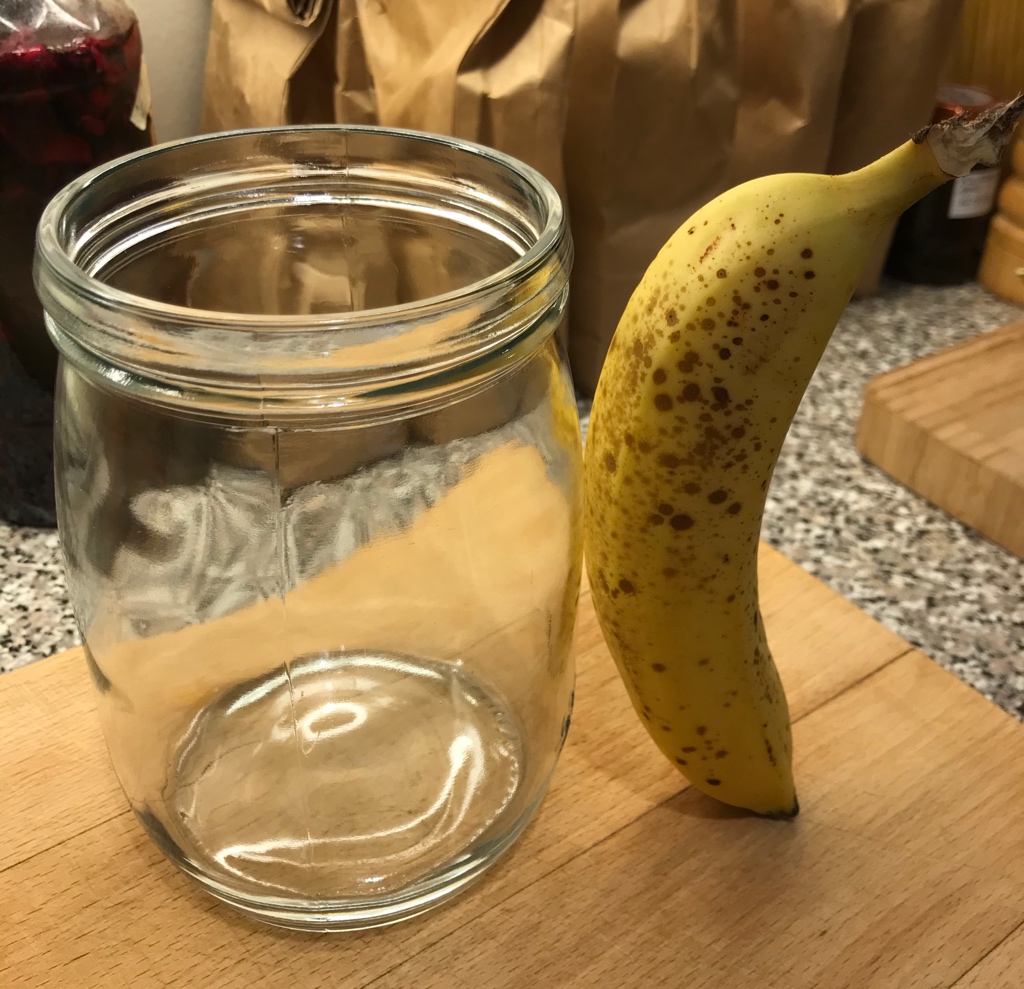
My sourdough container, banana for scale.
To make a starter you’ll need only four things.
- Flour
- Water
- Something to keep it in
- Patience
That’s it! nothing fancy required. For the most reliable results I recommend using good quality, fresh flour. Don’t use the stuff that’s a year out of date you found at the back of the cupboard. It might work, but I’ve had more luck with good quality fresh flour.
The container should be a glass, plastic or non-reactive metal, about one banana in height (see image). It should be very clean and free from dirt or any cleaning product residue. You will also need some sort of cloth to cover it, and an elastic band to keep the cloth in place.
The Method
Make sure to be exact with the measurements, no eyeballing quantities or using weird measurements like “cups” or anything like that. Also, use a set of digital scales with 1g accuracy if you can, they make baking much easier.
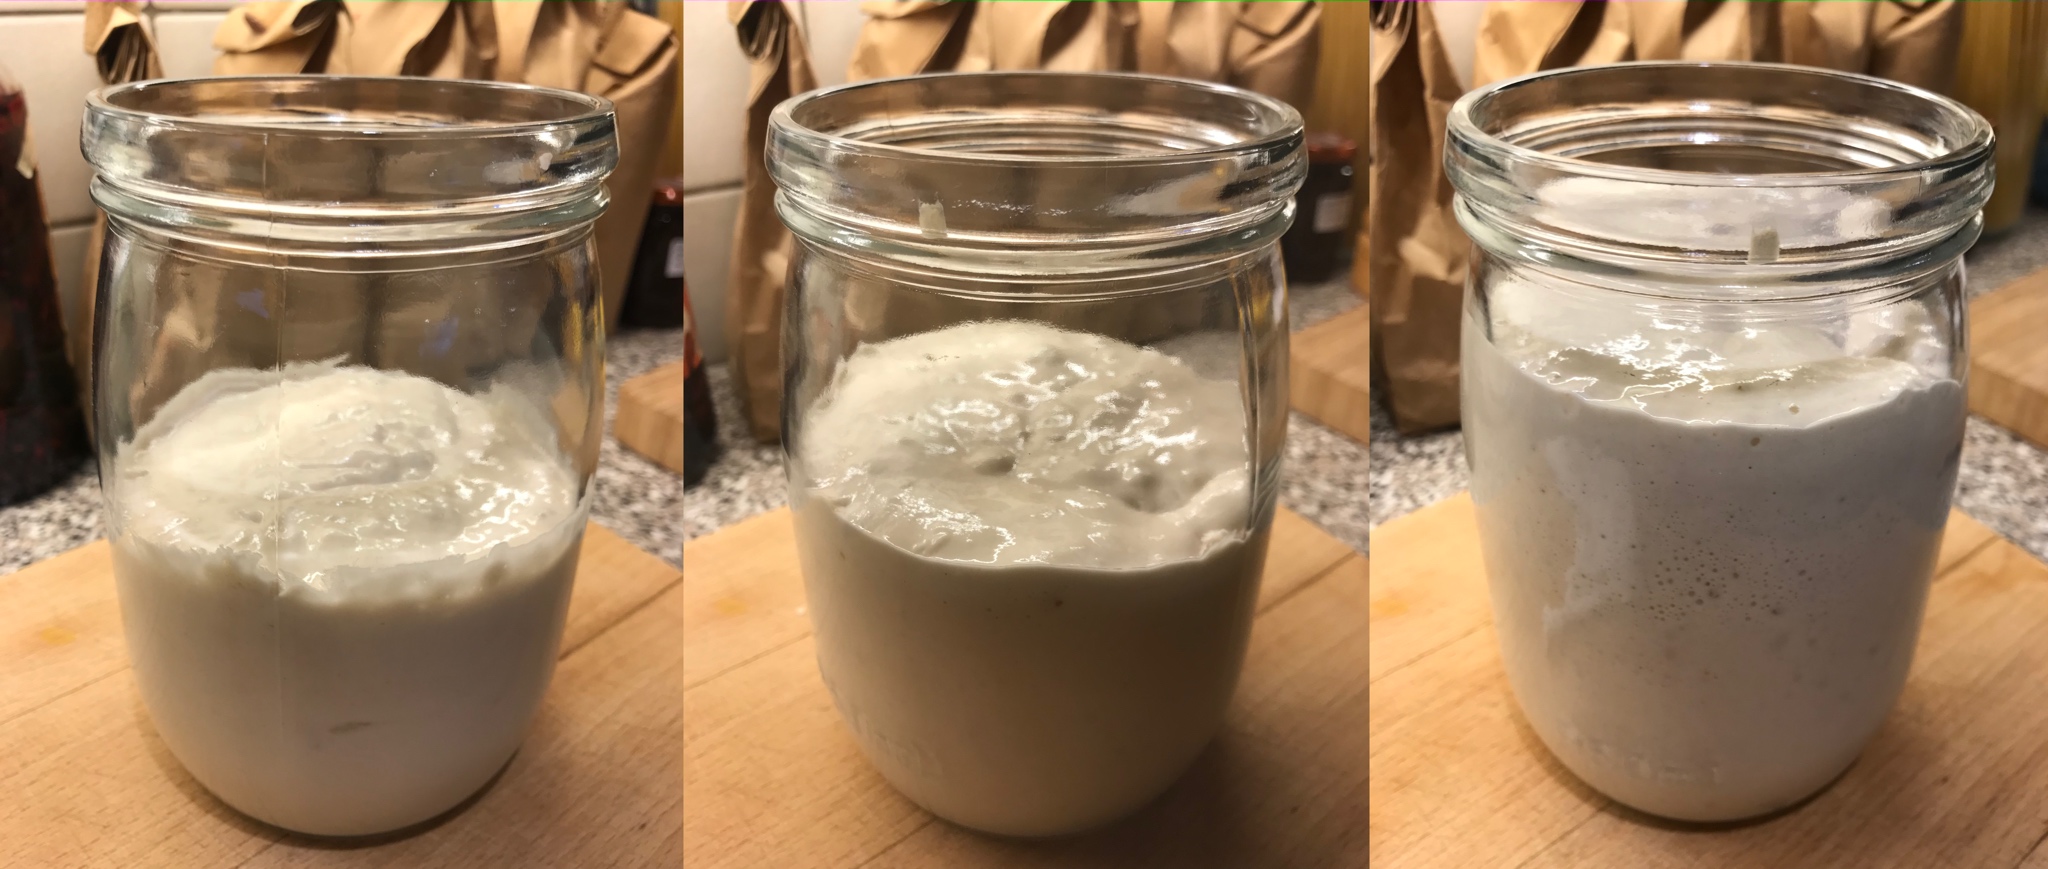
Sourdough progression. Inactive starter on the left, some activity in the middle, the same starter 24 hours later.
Day 1
Mix 50g water (around tap temperature is fine) with 50g flour until you get a smooth paste. Cover with a cloth and leave out at room temperature somewhere it will not get too hot or cold for about 24 hours, so not in the fridge or a sunny windowsill.
Day 2
Mix 50g flour and 50g water as on day 1 into the existing mixture, cover and leave for another 24 hours
Day 3 through 7
Repeat the process from day 2.
You should start to see some bubbling activity on about day 4 and if everything went right you should have a starter after about a week. You should end up with something that smells slightly sour and a bit like yoghurt.
It might take a little bit longer, it’s going to depend on the flour and temperature. If it’s not doing anything by about two weeks or it smells like it’s gone off then you might need to restart.
Once it’s done, keep the cloth cover on and put it in the fridge until you need it. It will keep about a week without attention in a cold fridge.
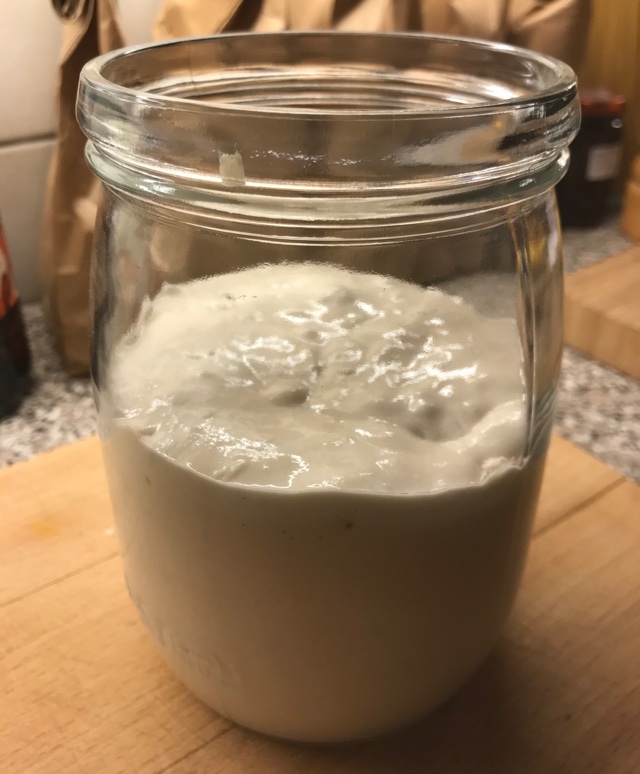
A working starter.
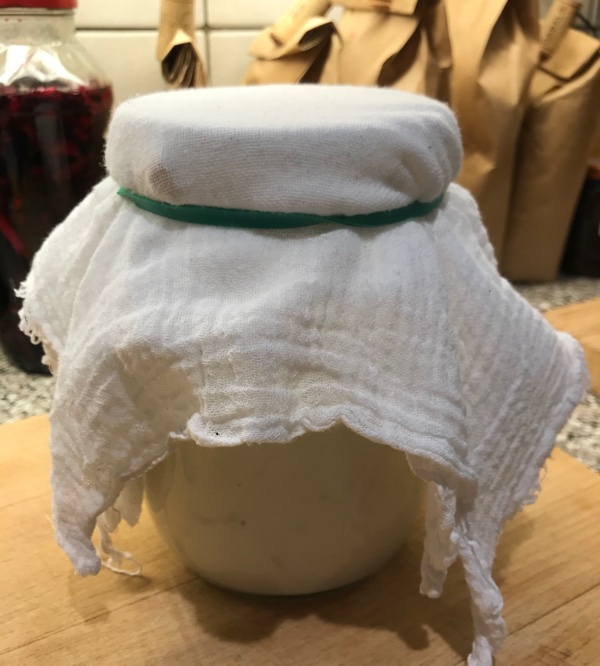
Use a cloth lid for your starter to allow it to breath.
Maintaining your starter
As long as you keep taking some out and then topping it up, the starter should last forever.
I found that my starter keeps best when kept in the fridge as it turns over too fast when any warmer.
When you use some of the starter, replace what you took with 50/50 water and flour. For example, if you take 150g starter to make a loaf of bread, replace what you took with 75g water and 75g flour. Try to keep the ratios exact. If you bias towards more water for instance each time you’re going to end up with wet bread, but bear in mind that over time your starter will suffer from evaporation, so you may need to add a little extra water every once in a while.
If you think you might want to make a larger, or multiple loaves in a few days, just add more water and flour over a couple of days until you’ve got the amount of starter you will need without taking too much.
When you take the starter out ideally it will be fairly stiff and coagulated, see about 30s into this video (you don’t have to stir it for ages, I was just fiddling). Ignore the rest of the video, my technique has changed in some spots, see the bread recipe for the updated method.
The starter should be good to use every day, but if you don’t need to make bread for a while it should keep in the fridge for over a week without use. When it’s been left for longer than that without being refreshed you can still make bread with it, but it gets harder to get good results. If you leave it too long though it might die and you’ll need to start from scratch.
If your starter has sat for a while then you will find it will become more liquid, this is OK, you can still make bread with it, it just might not be as good. If there is liquid sitting on top of the starter, mix it in. If you pour it out your starter will be unbalanced.