In my last post I wrote about how I rigged up a Raspberry Pi to monitor temperature, humidity and air pressure. In this post I will talk about how I added a multiline LCD display into the mix to display the same data on a multiline LCD display.
Why tho
Why indeed! It’s not particularly useful, I know it’s too hot in my office already just by, well, feeling the air, and I can always check out the Grafana dashboard I put together to get the latest data if I need to know an exact figure, which I don’t. It’s quite interesting to know how hot it is in here (my wife definitely agrees on this) and just being able to know by glancing at an LCD display is quite convenient.
But that’s all irellevant. I did it because it was fun and having an LCD display stuff is cool.

The display
The display is an LCM1602 20 character by 4 line LCD. Attached to the back of the LCD is a “backpack”. This backpack connects to an I²C bus, for example like the ones on either an Arduino or Raspberry Pi.
Making the dislay show text
This was the fun part of the challenge. There are some Python code and libraries and at least one C++ library out there that work mostly OK, but I don’t want to use Python, I want to use Go.
So, rather than attempt to start from scratch and interpret the datasheet I decided try to convert some of the Python code to Go. This turned out to be pretty easy, even though I don’t really know Python at all.
What I ended up with was my Go LCM1602 LCD driver project. This library is pretty simple to use, as can be seen from the example code:
package main

import (
	lcd "github.com/wjessop/lcm1602_lcd"
)

func main() {
	// Configure this line with the device location and address of your device
	lcdDevice, err := i2c.Open(&i2c.Devfs{Dev: "/dev/i2c-1"}, 0x27)
	if err != nil {
		log.Fatal(err)
	}
	defer lcdDevice.Close()

	lcdDisplay, err = lcd.NewLCM1602LCD(lcdDevice)
	if err != nil {
		log.Fatal(err)
	}

	// Write a string to row 1, position 0 (ie, the start of the line)
	if err := lcdDisplay.WriteString("Hello World!"), 1, 0); err != nil {
		log.Fatal(err)
	}

	// Write a string to row 2, position 7
	if err := lcdDisplay.WriteString("(>'.'<)", 2, 7); err != nil {
		log.Fatal(err)
	}

	if err := lcdDisplay.Clear(); err != nil {
		log.Fatal(err)
	}
}
The only feature not documented here is the WritePaddedString method:
// WritePaddedString writes a string to the LCD at the given row, but pads the
// row to effectively wipe any remaining characters off the line. This is handy
// for when you want to repeatedly display data on a line, but it could be of
// varying length, and you don't want to blank the entire screen each time.
func (l *LCM1602LCD) WritePaddedString(message string, row int, startPosition byte) error {
	return l.WriteString(fmt.Sprintf("%-20v", message), row, startPosition)
}
Once I’d written the library it was a simple job to incorporate it into the climate monitoring program I’d created, and you can see this in the full working example I uploaded to GitHub.
That’s it!
I’ll probably keep the LCD displaying climate data in my office, as I’m basically addicted to knowing what the temperature and humidity is now. If you decide to get your own LCD screen, make sure you grab one that has the backpack, as you’ll have a hard time using it if it doesn’t have one.
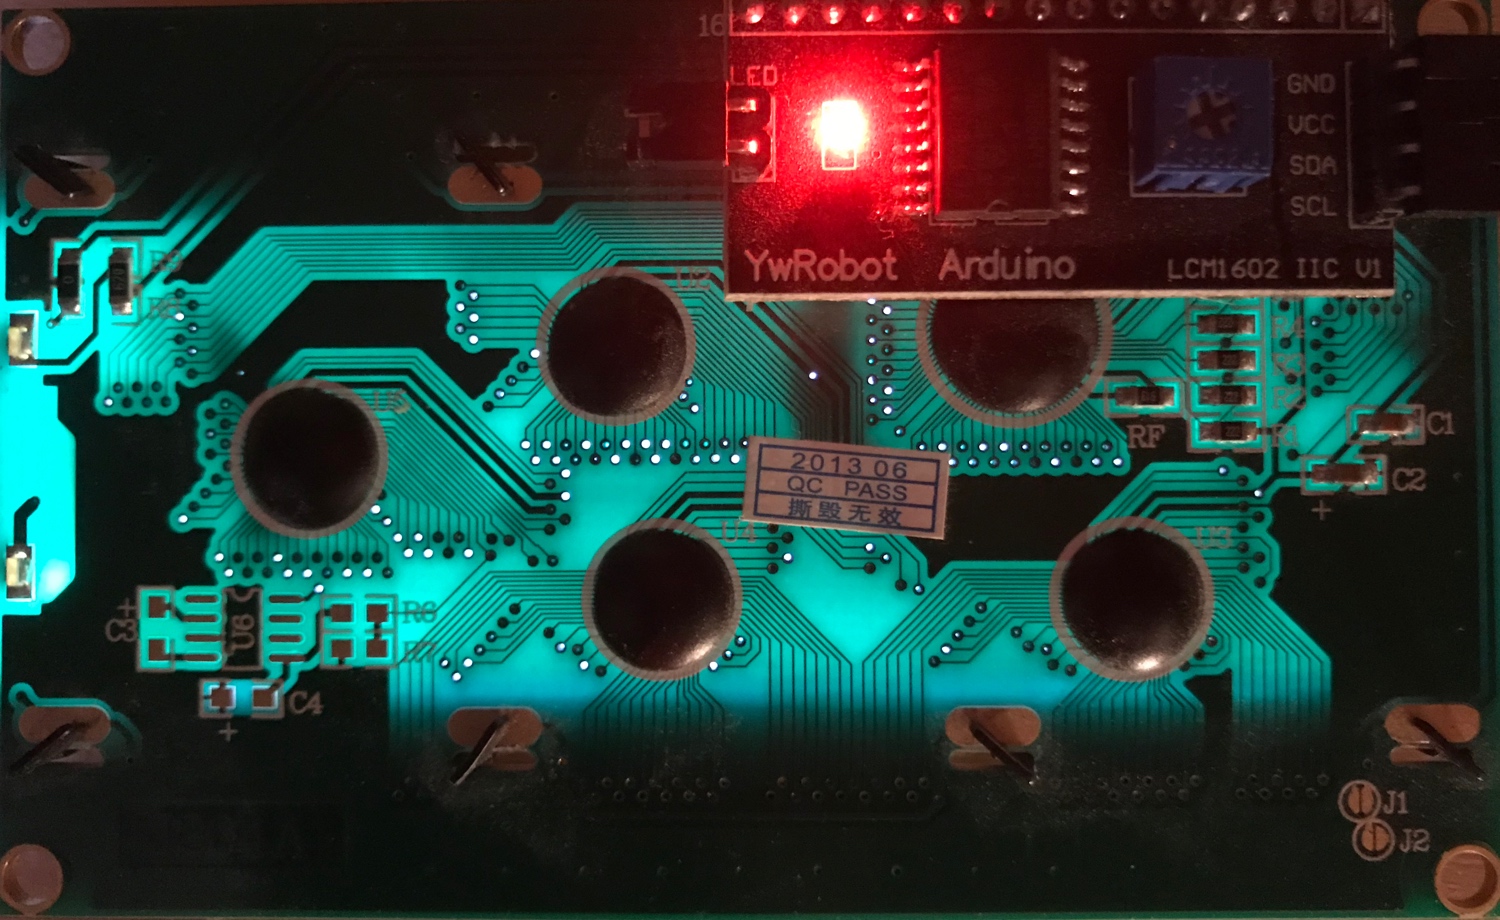
Just for fun, here’s a photo of the back of the LCD with the backlight shining through the circuit board: